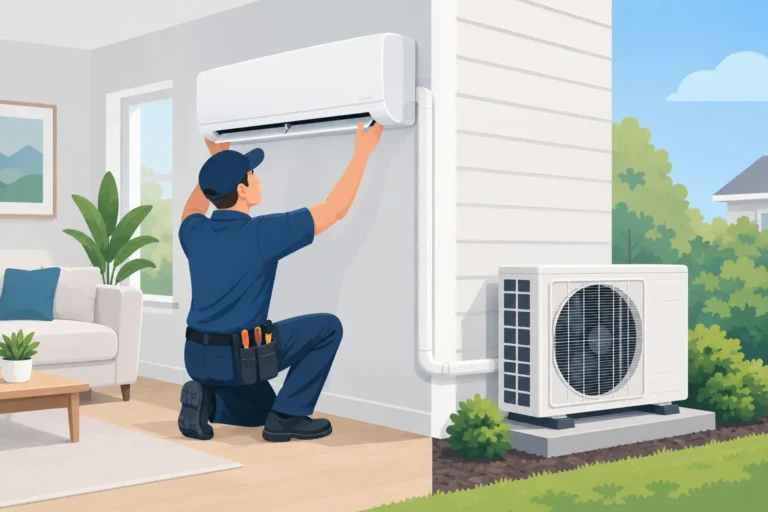

A finished attic that never cools down. A sunroom that is too hot by noon and too cold after sunset. A rental unit without existing ductwork. These are the situations where ductless mini split installation can make a major difference without tearing into walls to add a full duct system.
A mini split is not simply an air conditioner mounted on a wall. It is a matched heating and cooling system with precise electrical, refrigerant, drainage, and airflow requirements. When it is selected and installed correctly, it can provide dependable comfort in one room, several rooms, or an entire home. When shortcuts are taken, homeowners can end up with uneven temperatures, water leaks, poor efficiency, or equipment that struggles during a South Dakota cold snap.
When a Ductless System Makes Sense
Ductless mini splits move heat rather than creating it through combustion, which allows them to cool efficiently in summer and provide useful heat in cool weather and, with the right cold-climate equipment, through much of winter. Each indoor unit has its own control, so the guest room does not have to be conditioned exactly like the family room.
They are often a practical choice for additions, garages, finished basements, workshops, older homes, and rooms with persistent hot or cold spots. They can also serve as a solution for homes heated by boilers or radiant floors that do not have ductwork for central air conditioning.
That flexibility does not mean a mini split is automatically the right answer for every property. A whole-home system may be an excellent fit for a well-designed new construction project or a smaller, tightly built home. In a larger home with an existing forced-air furnace and ductwork, a central heat pump or air conditioner may make more sense. The best choice depends on the building, the rooms you use, your existing equipment, and how you want the system to perform in winter.
What Professional Ductless Mini Split Installation Includes
Good results begin before the equipment arrives. A professional technician evaluates the room or building instead of choosing a system based only on square footage. Ceiling height, insulation, window size and direction, air leakage, occupancy, and heat-producing appliances all affect the heating and cooling load.
An oversized unit can short cycle. It may bring the temperature down quickly but run in brief bursts, leaving humidity control and comfort inconsistent. An undersized unit may run constantly and still fail to keep up on the hottest or coldest days. Proper sizing protects efficiency, equipment life, and comfort.
Choosing the indoor and outdoor locations
The indoor air handler needs a location that can distribute air across the space without blowing directly onto a bed, desk, or favorite chair all day. Wall-mounted heads are common, but ceiling cassettes, floor-mounted units, and concealed ducted options may be better for certain layouts. The goal is practical airflow and service access, not simply the easiest wall to reach.
The outdoor unit also needs careful placement. It requires solid support, adequate clearance for airflow, protection from roof runoff, and access for future maintenance. In southeastern South Dakota, snow accumulation and drifting must be considered. Mounting the unit at an appropriate height and planning for winter drainage can help prevent snow and ice from interfering with operation.
Running refrigerant lines, wiring, and drainage
A small opening through an exterior wall allows the line set, communication wiring, and condensate drain to connect the indoor and outdoor equipment. That opening must be sealed correctly to help keep out moisture, insects, and outdoor air. The line set needs proper routing, insulation, support, and protection from physical damage.
Condensate drainage is one detail homeowners rarely see until there is a problem. In cooling mode, the indoor unit removes moisture from the air. That water must drain reliably to an approved location. A poorly pitched drain or an improperly installed condensate pump can lead to water staining, damage behind walls, or a system shutdown.
The electrical portion matters just as much. Mini split systems typically need a dedicated circuit, an outdoor disconnect, and correctly sized wiring. Electrical work must meet applicable code requirements and manufacturer specifications. This is not a place for extension cords, improvised connections, or guesswork.
Commissioning the system correctly
Once the equipment is mounted and connected, installation is not finished. The refrigerant piping must be pressure-tested for leaks and evacuated with the proper equipment before the system is released into service. Skipping this process can leave moisture or contaminants in the lines, affecting performance and compressor life.
The final startup should include checking operating pressures and temperatures, verifying electrical readings, confirming condensate flow, testing both heating and cooling modes, and reviewing controls with the homeowner. A technician should also explain filter cleaning, normal operating sounds, and when to call for service. Larry’s Plumbing, Heating and Cooling approaches this work as a complete comfort installation, not a quick equipment swap.
Cold-Weather Performance in South Dakota
Homeowners often ask whether a mini split can heat through a Yankton or Vermillion winter. The answer is: it depends on the model, the home, and the heating plan. Standard heat pumps lose capacity as outdoor temperatures fall. Cold-climate mini splits are designed to keep delivering heat at much lower temperatures, but every system has a point where its output declines or supplemental heat becomes necessary.
For a single addition, sunroom, or insulated garage, a cold-climate unit may be the primary heat source when sized and installed properly. For a whole home, some households use mini splits alongside a furnace, boiler, or other backup heat source. This can provide efficient heating through much of the season while maintaining dependable capacity during extreme cold.
Do not base the decision on one advertised low-temperature number. Ask how much heating capacity the specific model provides at low outdoor temperatures, how defrost cycles work, and what backup plan is recommended for your property. Straight answers here prevent unpleasant surprises when temperatures drop well below freezing.
Single-Zone vs. Multi-Zone Systems
A single-zone system pairs one outdoor unit with one indoor head. It is often the simplest and most efficient choice for a single problem area, such as an upstairs bedroom or detached office. It also offers straightforward controls and fewer components.
A multi-zone system connects several indoor units to one outdoor condenser. It can reduce the number of outdoor units around the property and allows separate temperature control in multiple rooms. However, multi-zone design requires careful load calculations. The total rated capacity of the indoor heads and the outdoor unit must be planned around how the spaces will actually be used at the same time.
More zones are not always better. If only one room needs help, installing several heads can add cost and complexity without providing enough value. On the other hand, a properly designed multi-zone system can be an excellent solution for a home without ducts or for a commercial space with several independently occupied areas.
Why DIY Installation Can Become Expensive
Some ductless systems are marketed as DIY-friendly, but the apparent savings can disappear quickly. Refrigerant handling, evacuation, electrical connections, condensate management, permits, and manufacturer warranty requirements all deserve professional attention. Even a small refrigerant leak or drain error can create a costly repair later.
There is also the question of long-term service. Equipment that is installed to manufacturer specifications is easier to diagnose, maintain, and repair. A documented installation with accessible components gives future technicians a much clearer path when service is needed.
Keeping a Mini Split Efficient After Installation
Mini splits need regular care, even though they do not use a traditional central-air filter rack. Homeowners should clean washable indoor filters as recommended, keep furniture and drapes away from airflow, and make sure the outdoor unit remains clear of leaves, grass clippings, snow, and ice.
Professional maintenance should include cleaning coils and blower components as needed, checking electrical connections, inspecting drain operation, verifying refrigerant performance, and testing heating and cooling modes. Dirty indoor components can reduce airflow and contribute to odors, while neglected drainage can lead to water problems.
If your system begins making unfamiliar noises, leaks water, produces weak airflow, or stops keeping up with the thermostat setting, schedule service before a minor issue becomes a no-heat or no-cooling call.
A ductless system should make a difficult room feel like part of the home again. With thoughtful design, careful installation, and regular maintenance, it can provide efficient comfort through South Dakota’s changing seasons. If you are considering one for your home, rental property, or business, start with an on-site evaluation and a clear plan for the way you actually use the space.